Remember those crayons you bought a lot of a few weeks ago, and then broke them up and made Confetti Crayons?

Well, I hope you saved some, or still have some around that need sharpening…
 You’ll need:
- Wax paper
- Crayons
- Scissors
- Pencil Sharpener
- Black Permanent Marker
- Iron
- Hole Punch
- String
First, print out this pdf, of a few outlines of leaves.

Get out your black marker, and trace the leaves on a sheet of wax paper.
Lay out your sheet of wax paper with the leaves on it, on your ironing surface. Put a sheet of clean paper underneath to protect your ironing board.
Then, start sharpening! (And please ignore the scorch marks on my ironing board while you’re at it.)

I tried to make my shavings all pretty and in the lines. Don’t bother, it’s a pain, and totally doesn’t make a difference. Just have fun mixing colors, and then just spread them evenly over the leaf shape on the waxed paper. This is a fun way to teach kids about monochromatic colors, complimentary colors, warm colors, cool colors, etc. Oh, and if you mix too many colors, well, you’ll end up with brown. Just a warning.

Place the 2nd sheet of wax paper over the top of your crayon shavings. Set your iron on low. Put another piece of clean white paper on top of your wax paper (to protect your iron). Then, press the iron slowly down on each of the leaves. Don’t move the iron around like you’re ironing something, just press it down, pick it up, move it, place it down again. If you move it, it will smear your crayon wax everywhere, and you’ll have a mess. Trust me on this.

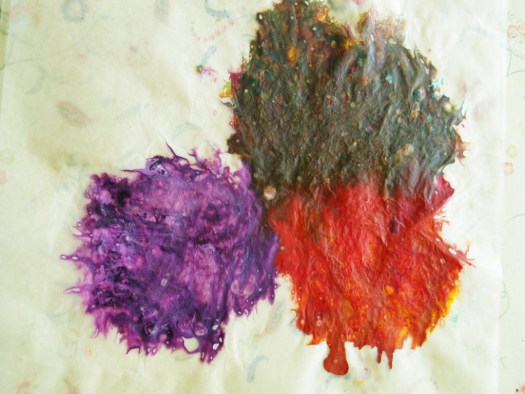
Please note the lovely brown patch. I told you. Too many colors=brown.

Now, cut out your leaves! If you do this part while they’re still warm, they will be easier to cut, but they cool quickly. Don’t worry if your wax paper starts to lift a little on the edges, just put your cut out piece back between the clean paper, give it a little press with the iron, and voila! Sealed up again!

Poke some holes in your leaves, tie some string…

and hang up somewhere pretty!
~ April


